Georgian Khachupuri Recipe with Sulguni Cheese

I first tried Khachupuri at Mimino, a Georgian restaurant in Kensington.  There are many different types of Khachupuri:

  • Imeritian (Imeruli) circular khachapuri
  • Adjarian (Acharuli/Adjaruli) khachapuri, an open boat shape, topped with a raw egg and a pat of butter before serving
  • Mingrelian (Megruli) khachapuri, similar to Imeritian but with extra cheese on the top
  • Abkhazian (Achma) khachapuri, with multiple layers
  • Ossetian (Ossuri) khachapuri, with a potato and cheese filling
  • Svanuri khachapuri
  • Rachuli khachapuri
  • Phenovani khachapuri

My favourite is the most simple, simply dough, filled with the cheese, topped with another layer of dough and then baked in the oven.  I opted for a combination of smoked and unsmoked Sulguni cheese from the Russian Kalinka shop on Queensway in London.

Ingredients

250ml sour cream

150g melted butter

1 egg lightly whisked

400g plain flour

(this can vary depending on the flour, best to put in small amounts at one time and wait until it comes together)

Pinch of salt

1/4 tsp baking soda

For the filling:

100g smoked and 100g unsmoked sulguni cheeses, grated

1 egg whisked

2 tbsp sour cream

2 cloves of garlic crushed

1 egg yolk for glazing

Instructions

Mix sour cream and melted butter

Add salt and baking soda

Whisk in the egg

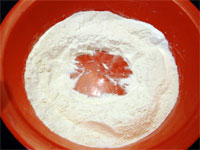
Add the sifted flour  slowly

Knead until the dough comes together and is maleable

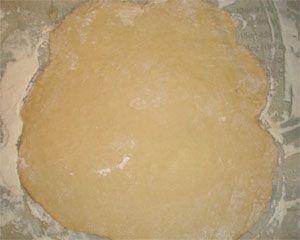
Divide the dough into two and roll out

For the filling:

Grate the cheese, mix with egg, sour cream and garlic

Place one length of dough on a baking sheet covered with parchment paper

Put the cheese filling on the dough, leaving about 1 cm from the edges

Place second sheet of dough over the top of cheese filling

Use a fork to press edges down, then make a few holes in the top layer of dough to allow steam to escape

Brush with beaten egg yolk to glaze dough

Place in oven for 20 minutes at about 180 degrees Celsius until golden brown

Serve warm with salad garnish as starter or snack

Related Images:

Traditional German Ginger Cake Recipe

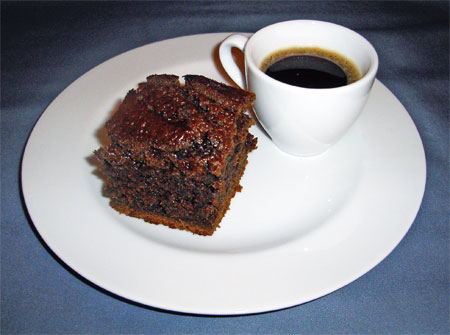
There is something about the smell of ginger and spices that fill the house with the internal warmth one seeks during the cold, bitter, winter months.  And haven’t these last few weeks been bitter!  I believe the UK has had more snow than some of the East European countries famed for their skiing.  I’m no gourmet cake expert but I do love throwing everything in, stirring and baking making this recipe ideal.  Using a foil tin in place of a baking dish (only an option) also means there is little washing up!  I warn you, this is rich and for those who would prefer something a little lighter it may be best to omit 1/4 of the treacle in place of an extra 1/4 of golden syrup.  Enjoy with a mug of tea or strong coffee.

Traditional German Ginger Cake

Ingredients

150g butter

200g golden syrup

200g black treacle

125g dark muscovado sugar

2 tsp finely grated ginger

1 tsp ground ginger

1 tsp ground cinnamon

1 tsp bicarbonate soda dissolved in 30ml warm water

250ml full-fat milk (do not use semi-skimmed or skimmed!)

2 eggs, beaten

300g plain flour

Instructions

Preheat the oven to 170 degrees Celsius (adjust for a fan oven) / Gas Mark 3

Grease a 30 x 20 x 5 cm foil tin

(Alternatively, line a roasting tin or ovenproof dish with baking parchment)

Melt the butter on a low heat in a saucepan

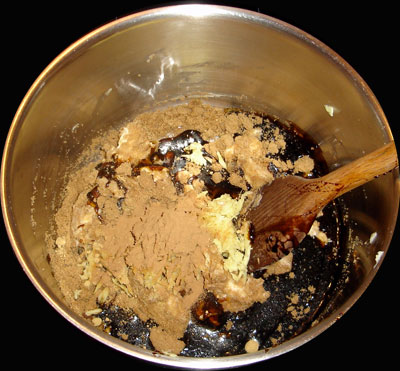
While the butter melts, add the sugar, syrup, treacle, fresh and ground gingers and cinnamon

Traditional German Ginger Cake

Take off the heat

Add the milk (this cools it slightly so the egg should not scramble)

Add the eggs and dissolved bicarbonate

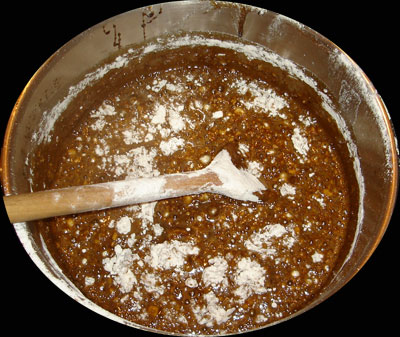
Put the flour into a bowl and pour in the liquid ingredients

Traditional German Ginger Cake

Beat until well mixed

(The batter is not thick which makes the cake very sticky)
Pour the batter into the cake tin and bake for 45 minutes until risen

Transfer the tin to a wire rack and let the gingerbread cool in the tin before cutting into squares
Traditional German Ginger Cake
The cake can also be stored whole in an airtight container for up to 2 weeks or be frozen for up to 3 months. Defrost thoroughly at room temperature for 3 to 4 hours and then cut into squares. Cut when desired.

Traditional German Ginger Cake

Related Images:

Hungarian Chocolate Cake Recipe

Hungarian Chocolate Cake

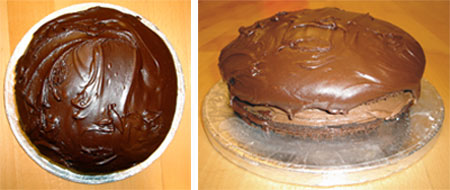
I made a promise to some of my colleagues at Glam that I would bake them a cake and as one of my colleagues is Hungarian I took inspiration from the Hapsburg’s traditional confectionary.  I am not particularly artistic so my efforts are always going to be rustic rather than looking as if it has been picked up at a patisserie but at least it gives it a real homemade feel.  This chocolate cake is a simple chocolate sponge with a mocha buttercream filling and a chocolate and brandy icing topping.  I have made this cake once previously and I made the icing on top a lot thiner so it literally ran off the spoon and covered the whole cake and sides but this time I made it thicker  and piled it on the top.  Depsite the sugar and butter content of the cake, it contains no preservatives or artificial colourings or flavourings and is surprisingly light and not sickly, making it the perfect little treat for your family or friends!

Ingredients

For the cake

125g soft butter or margarine

125g caster superfine sugar

125g self-raising flour (or plain flour plus 1 tsp baking powder)

2 eggs

2 tbsp drinking chocolate

2 tbsp cocoa

1 tbsp cold milk

1 tsp vanilla extract

For the buttercream filling

75g butter

1 egg yolk

175g icing sugar

1 1/2 tbsp cocoa

2 tbsp strong espresso coffee made with 1/1/2 tbsp hot water

1 tsp brandy

1 tsp vanilla extract

For the chocolate icing

125g plain dessert chocolate (70% cocoa solids)

15g butter

2tbsp water

225g sifted icing sugar

1 tsp brandy

1 tsp vanilla extract

Instructions

For the cake

Preheat oven to Gas No. 4 or 180 degrees Celsius

Lightly grease two 7-inch sandwich tins

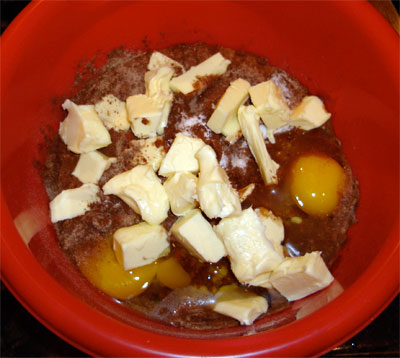
Put all the ingredients into a bowl

hungarian-choc-cake-2

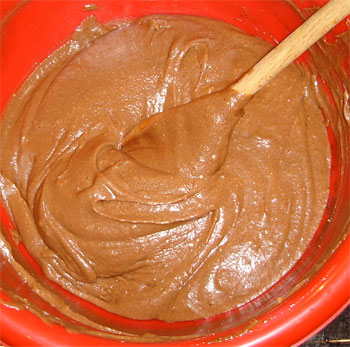
Beat by mixer or wooden spoon until smooth and creamy

hungarian-choc-cake-3

Divide the mixture between the tins, smooth level with a spatula

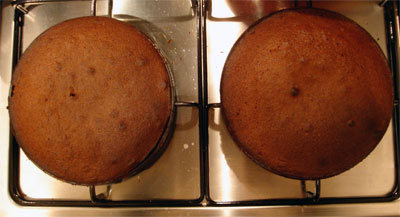
Bake the sandwiches for 25 minutes until springy to touch

Allow to cool on a cooling rack

hungarian-choc-cake-4

For the buttercream

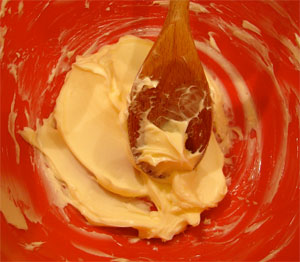
Cream the butter until creamy in texture and light in colour

hungarian-choc-cake-5

Beat in the egg yolk

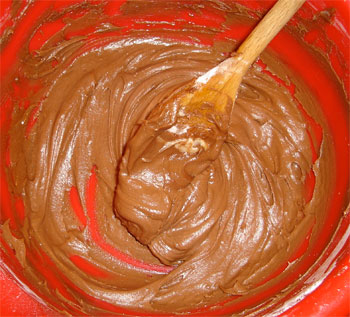
Sift together the sugar and cocoa and beat into the butter alternating with the coffee

Add the brandy and vanilla extract and beat until smooth and easy to spread

hungarian-choc-cake-6

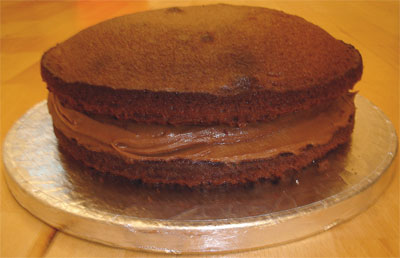
When the two cakes are cool spoon the buttercream spread over the top of one and place the other on top of that

hungarian-choc-cake-7

Place in refrigerator to set the buttercream slightly

For the chocolate icing

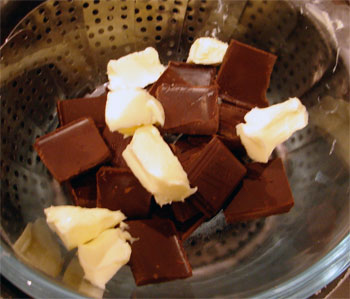
Break up the chocolate and place in small thick-bottomed pan with the butter

hungarian-choc-cake-8

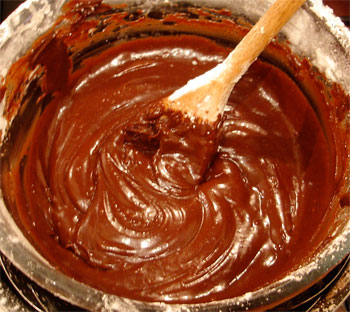
Add the water and warm over a gentle heat, stirring with a wooden spoon until a smooth cream is formed

Gradually stir in the icing sugar, adding more water if necessary to achieve the thickness of the icing you desire

hungarian-choc-cake-9

Stir in the brandy and vanilla extract

Hungarian Chocolate Cake

Take cake from refrigerator and ice the top of the cake and sides if desired

Place in refrigerator for 1 hour to set icing

Store in an airtight container in a cool place

Related Images:

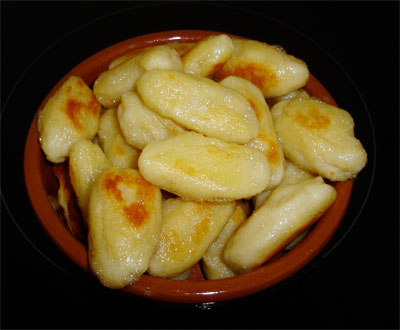
Lenivye Vareniki – Cheese Dumplings

These little Russian dumplings, a cheesy version of Italian gnocchi, are a real favourite of mine, but be warned, they require some time to make.  Personally, I think the easiest thing is to make up a huge batch once or twice a year, freeze in small batches, and simply defrost and reheat when you want them.  This is such a typical little East European dish which can be eaten either savoury, such as with bacon, or as a dessert with smetena (sour cream) and sugar.

dumpling-1
Lenivye Vareniki

Read more…

Almond Jewish Kipferl Biscuits

This biscuit recipe is one of my tried and tested favourites.  I took a particular interest in Jewish history and Judaism while at school after visiting the Synagogue in Reading.  I studied Religious Studies after school as an extra GCSE and during the year in which we looked at Judaism, Joe Perl and his wife Sylvia who were Holocaust survivors, would come in and tell us about their beliefs and feed us scrumptious food that they would normally eat over festivals or holy days such as the Sabbath.  A year or so after I left school I came across a giant Jewish cookery book.  I’ve used it so much and its dessert recipes are usually good.  This is my adaptation of the traditional Jewish Kipferl biscuits which originated and continue to be popular in the former Austro-Hungarian Empire states.  They make great presents when tied up in some cellophane, and I usually hand them out, somewhat ironically, at Christmas time.  I suppose I should really call them my Hanukkah gifts!

Almond Jewish Kipferl Biscuits

Read more…

Croatian Citrus Ricotta Squares

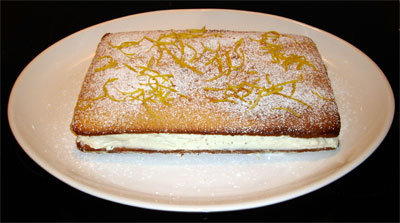
This super light cheese cake has a sponge base and top and has a creamy filling with just a hint of ricotta.  It makes a great little dessert after a heavy meal and goes well served with a few seasonal berries such as blackberries, cherries or strawberries, soaked in a little cherry brandy (marsaka).

Croatian Ricotta Citrus Cake
Croatian Citrus Ricotta Cake

Read more…

Related Images:

Russian Lepeshki Recipe

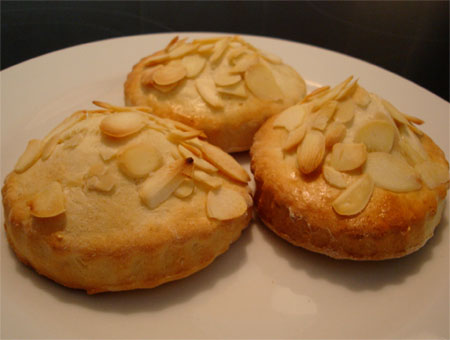
Russian Lepeshki Biscuits

Baking is something of a guilty/secret pleasure.  I love baking.  I love baking bread.  I absolutely adore baking biscuits.  I seem to manage to surround myself with people who also love baking, those who are able to produce baking perfection.  Why is baking such a guilty pleasure for me?  I’m normally one of those people who likes to throw everything in a pot, stir, serve and eat.  You can’t really do that with baking.  It takes precision.  So don’t tell anyone that I actually quite enjoy the technicality of baking!  It’s just between you and me!

When I came across a recipe for Lepeshki, a Russian biscuit which uses sour cream instead of butter and just knew I had to give the recipe a go.

Ingredients (for about 24 biscuits)

275g self-raising flour

Pinch of salt

90g caster sugar (vanilla sugar if you have it)

1 egg separated

1 egg whisked

120ml sour cream

2 tsp vanilla and almond extract

(You can use less, you can use more, I just really love vanilla and almonds)

1 tbsp milk

50g flaked almonds

Instructions

Preheat oven to 200 degrees Celsius/ 400 degrees Fahrenheit / Gas Mark 6

Sift the flour, salt and sugar into a mixing bowl

Make a well in the centre

lepeshki-2

Whisk one of the eggs and mix with the sour cream, vanilla and almond extracts and milk

lepeshki-3

Add to the dry ingredients to form a soft dough

(I feel I should divulge some information regarding flour at this point.  The original recipes was for 225g of flour, but this made a dough which was so runny there was absolutely no way I was going to be able to roll it out.  I added more by eye and think you probably need 275g of flour instead but as each flour varies, you will have to give it a go and if it becomes too dry you may need to add some extra wet ingredients.  I think the recipe I had was just a bit wrong, but still, use your instinct rather than relying on numbers!)

lepeshki-4

Roll out the dough on a lightly floured surface until about 8mm/ 1/3in thick

(It may be preferable to cool the dough in the fridge before rolling as it becomes warm very quickly and it may be good to roll out sections at a time and keep the remaining in the fridge until you are ready to cut more)

lepeshki-5

Cut the biscuits into rounds with a 7.5cm/3in cutter

Transfer the circles to a lightly oiled baking sheet on a baking tray

Separate the other egg

Brush the biscuits with the egg white

Sprinkle with flaked almonds

lepeshki-6

Bake for 8 to 10 minutes until light golden brown

Transfer to a wire rack to cool

Serve!
Serve!

Store in an airtight container (unless you are feeling particularly piggy and want to devour the lot!)

Related Images:

Plum Streusel Slices

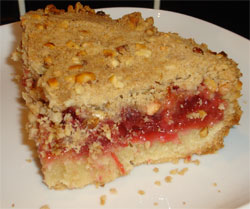
This recipe is of Saxony/German origin where fruit desserts are very popular.  A basic pastry base is used, with a plum filling (although apricots can be used if preferred) and topped with a streusel/crumble topping.  I am not normally a fan of fruit desserts, or desserts in general, but my Mother bought me 1 1/2 kg of plums and I sickened myself of eating them for breakfast.  I tried this recipe to try to use some of them up and was pleasantly surprised.

Ingredients (makes 14 slices)

225g plums, stoned and chopped

1 tbsp lemon juice

100g caster sugar

115g butter

1 egg yolk

150g plain flour

For the topping:

150g plain flour

1/2 tsp baking powder

75g butter

50g soft, brown, light sugar

50g chopped hazlenuts

Instructions

Preheat oven to 180 degrees Celsius

Grease and base an 8-inch square cake tin

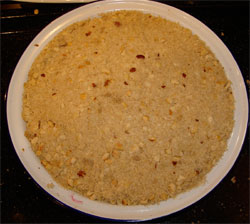
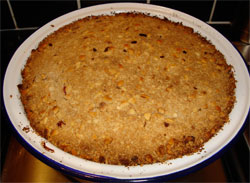
(I used a round enamel one but if you want to cut the streusel into slices a square tin is easier)

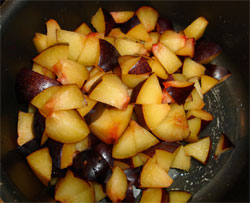
Put lemon juice and plums into saucepan and heat on low heat for 5 minutes

Lemon juice & plums

Add 50g of caster sugar to plums

Simmer plums until very thick

Leave to cool

Beat the butter and 50g caster sugar together in bowl

Beat in egg yolk

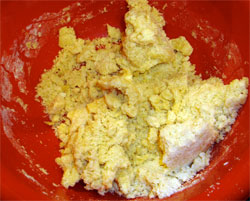
Mix in flour to make soft dough

streusel-dough

Press mixture into base of prepared cake tin

Bake for 15 minutes in the oven

baked

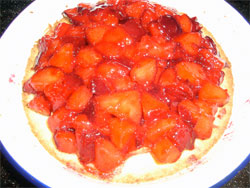
Remove from oven and spoon over plum filling

(Tip:Do not put the filling all the way to the edges as it will ooze when it cooks and become difficult to cut into slices/remove from tin)

plum-topping

For the topping:

Sift flour and baking powder into a bowl

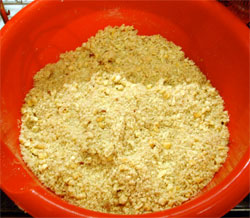
Rub in butter until mixture resembles breadcrumbs

Stir in brown sugar and chopped nuts

topping

Sprinkle topping mixture over the plums

Press topping down gently

streseul-for-oven

Bake for 30 minutes until lightly browned

cooked

Leave to cool for 15 minutes, then cut into slices (or portions)

Remove from the tin when completely cold

Serve!

Serve!

Related Images:

Chicken Bitki

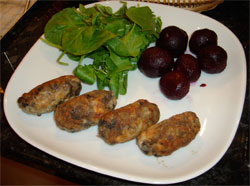
This Polish dish reminds me a lot of cevapi in the Balkans but a much lighter version.  Chicken Bitki are like little sausages/meatballs, coated in flour and fried.  In Poland chicken is normally more gamey, so if you can, get cornfed chicken or alternatively, use guinea fowl.  I have never used chicken mince before and was not convinced about the combination with nutmeg and mushrooms, but in fact, they were quite delicious indeed.

bitki-done

Ingredients (to make 12)

15g butter

115g flat, portobello mushrooms, finely chopped

50g white breadcrumbs

350g chicken breast, minced or chopped finely

2 eggs separated

1/4 tsp grated nutmeg

2 tbsp plain flour

3 tbsp oil

Instructions

Melt butter in a pan

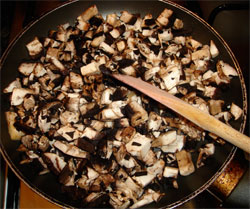
Fry mushrooms for 5 minutes until soft

mushrooms

Allow mushrooms to cool and mop up any liquid/butter

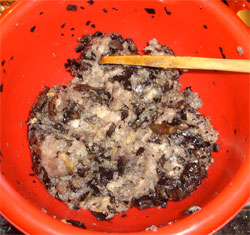
Mix breadcrumbs, chicken, egg yolks, nutmeg, salt and pepper and then the mushrooms

bitki-mix

Whisk the egg whites until stiff

Stir half the egg white into the chicken mixture, then fold the remainder

It is not necessary, but I would recommend that you then put the mixture in the refrigerator for 30 minutes as it becomes easier to mold the bitki

Shape the mixture into 12 even long meatballs, 2.5cm wide and 7.5cm long

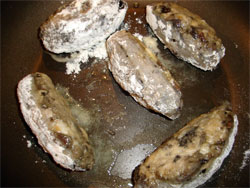
Roll each bitki in flour

Heat oil in frying pan

Heat the bitki for 10 minutes, turning until evenly golden brown and cooked through

bitki-frying

Serve hot with a green salad and pickled beetroot

Serve!

Serve!

Related Images:

Friday’s Fish Recipe

Angling is a particularly popular pastime in Russia and as a result, fish is used in many Russian recipes.  This is a great, easy, one-pot, dish, perfect for Friday night dinner after a long week at work.

Ingredients:

600g fish fillets (pike, catfish, perch, or sea fish such as cod or bass)

Juice of 1-2 lemons

750g potatoes

500g mushrooms, preferably wild

30g all-purpose flour

4 eggs

1/2 bunch parsley, dill and scallions (spring onions)

Instructions:

Marinate the fish in lemon juice for 30 minutes.

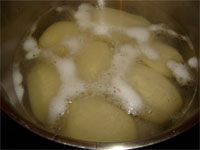
Boil the potatoes until just soft.

Potatoes

Clean the mushrooms, slice finely, and saute in small knob of butter.

Mushrooms, sliced, sautéed

Cut the fish diagonally.

Coat fish in flour.

Fish fillets in flour

Shallow fry fish in oil until golden brown on both sides (skin side down first).

Fish in pan

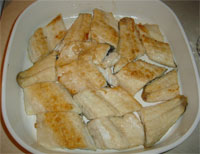
Place fried fish fillets in a greased baking dish.

Fish in dish

Slice the potatoes.

Potatoes sliced

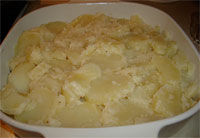
Place slices over the fish.

Layer of potatoes

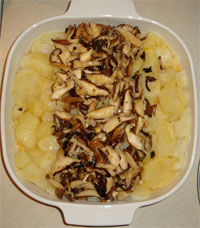
Sprinkle the mushrooms on the top of the potatoes.

Beat the eggs, season with salt and pepper, and pour over the fish and vegetable mixture.

Ready for the oven

Bake in preheated oven at 200ºC until the egg is firm.

Sprinkle with herbs and scallions and serve.

Done!

If you want to make sure you get a good, brown, crispy topping you can add a few small knobs of butter to the topping before putting in the oven.

This traditional Russian dish is quite dry and may please Western palettes more if a little cream or sour cream is drizzled over the fish and potatoes to create a sauce.

Related Images: