Georgian Khachupuri Recipe with Sulguni Cheese

I first tried Khachupuri at Mimino, a Georgian restaurant in Kensington.  There are many different types of Khachupuri:

  • Imeritian (Imeruli) circular khachapuri
  • Adjarian (Acharuli/Adjaruli) khachapuri, an open boat shape, topped with a raw egg and a pat of butter before serving
  • Mingrelian (Megruli) khachapuri, similar to Imeritian but with extra cheese on the top
  • Abkhazian (Achma) khachapuri, with multiple layers
  • Ossetian (Ossuri) khachapuri, with a potato and cheese filling
  • Svanuri khachapuri
  • Rachuli khachapuri
  • Phenovani khachapuri

My favourite is the most simple, simply dough, filled with the cheese, topped with another layer of dough and then baked in the oven.  I opted for a combination of smoked and unsmoked Sulguni cheese from the Russian Kalinka shop on Queensway in London.

Ingredients

250ml sour cream

150g melted butter

1 egg lightly whisked

400g plain flour

(this can vary depending on the flour, best to put in small amounts at one time and wait until it comes together)

Pinch of salt

1/4 tsp baking soda

For the filling:

100g smoked and 100g unsmoked sulguni cheeses, grated

1 egg whisked

2 tbsp sour cream

2 cloves of garlic crushed

1 egg yolk for glazing

Instructions

Mix sour cream and melted butter

Add salt and baking soda

Whisk in the egg

Add the sifted flour  slowly

Knead until the dough comes together and is maleable

Divide the dough into two and roll out

For the filling:

Grate the cheese, mix with egg, sour cream and garlic

Place one length of dough on a baking sheet covered with parchment paper

Put the cheese filling on the dough, leaving about 1 cm from the edges

Place second sheet of dough over the top of cheese filling

Use a fork to press edges down, then make a few holes in the top layer of dough to allow steam to escape

Brush with beaten egg yolk to glaze dough

Place in oven for 20 minutes at about 180 degrees Celsius until golden brown

Serve warm with salad garnish as starter or snack

Related Images:

Traditional German Ginger Cake Recipe

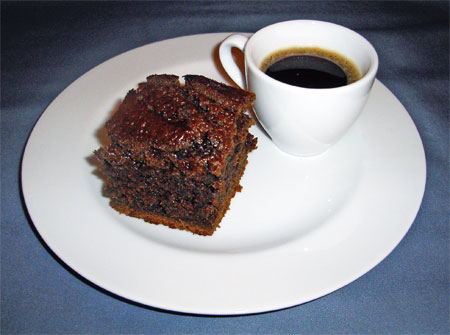
There is something about the smell of ginger and spices that fill the house with the internal warmth one seeks during the cold, bitter, winter months.  And haven’t these last few weeks been bitter!  I believe the UK has had more snow than some of the East European countries famed for their skiing.  I’m no gourmet cake expert but I do love throwing everything in, stirring and baking making this recipe ideal.  Using a foil tin in place of a baking dish (only an option) also means there is little washing up!  I warn you, this is rich and for those who would prefer something a little lighter it may be best to omit 1/4 of the treacle in place of an extra 1/4 of golden syrup.  Enjoy with a mug of tea or strong coffee.

Traditional German Ginger Cake

Ingredients

150g butter

200g golden syrup

200g black treacle

125g dark muscovado sugar

2 tsp finely grated ginger

1 tsp ground ginger

1 tsp ground cinnamon

1 tsp bicarbonate soda dissolved in 30ml warm water

250ml full-fat milk (do not use semi-skimmed or skimmed!)

2 eggs, beaten

300g plain flour

Instructions

Preheat the oven to 170 degrees Celsius (adjust for a fan oven) / Gas Mark 3

Grease a 30 x 20 x 5 cm foil tin

(Alternatively, line a roasting tin or ovenproof dish with baking parchment)

Melt the butter on a low heat in a saucepan

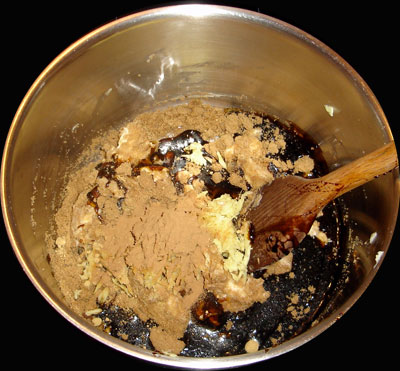
While the butter melts, add the sugar, syrup, treacle, fresh and ground gingers and cinnamon

Traditional German Ginger Cake

Take off the heat

Add the milk (this cools it slightly so the egg should not scramble)

Add the eggs and dissolved bicarbonate

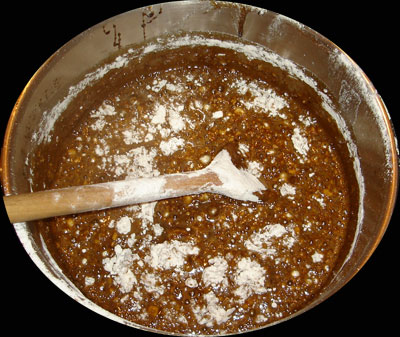
Put the flour into a bowl and pour in the liquid ingredients

Traditional German Ginger Cake

Beat until well mixed

(The batter is not thick which makes the cake very sticky)

Pour the batter into the cake tin and bake for 45 minutes until risen

Transfer the tin to a wire rack and let the gingerbread cool in the tin before cutting into squares

Traditional German Ginger Cake
The cake can also be stored whole in an airtight container for up to 2 weeks or be frozen for up to 3 months. Defrost thoroughly at room temperature for 3 to 4 hours and then cut into squares. Cut when desired.

Traditional German Ginger Cake

Related Images:

Russian Lepeshki Recipe

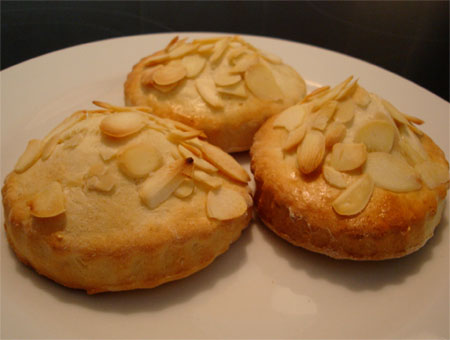
Russian Lepeshki Biscuits

Baking is something of a guilty/secret pleasure.  I love baking.  I love baking bread.  I absolutely adore baking biscuits.  I seem to manage to surround myself with people who also love baking, those who are able to produce baking perfection.  Why is baking such a guilty pleasure for me?  I’m normally one of those people who likes to throw everything in a pot, stir, serve and eat.  You can’t really do that with baking.  It takes precision.  So don’t tell anyone that I actually quite enjoy the technicality of baking!  It’s just between you and me!

When I came across a recipe for Lepeshki, a Russian biscuit which uses sour cream instead of butter and just knew I had to give the recipe a go.

Ingredients (for about 24 biscuits)

275g self-raising flour

Pinch of salt

90g caster sugar (vanilla sugar if you have it)

1 egg separated

1 egg whisked

120ml sour cream

2 tsp vanilla and almond extract

(You can use less, you can use more, I just really love vanilla and almonds)

1 tbsp milk

50g flaked almonds

Instructions

Preheat oven to 200 degrees Celsius/ 400 degrees Fahrenheit / Gas Mark 6

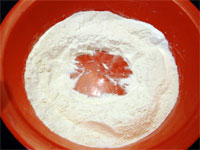
Sift the flour, salt and sugar into a mixing bowl

Make a well in the centre

lepeshki-2

Whisk one of the eggs and mix with the sour cream, vanilla and almond extracts and milk

lepeshki-3

Add to the dry ingredients to form a soft dough

(I feel I should divulge some information regarding flour at this point.  The original recipes was for 225g of flour, but this made a dough which was so runny there was absolutely no way I was going to be able to roll it out.  I added more by eye and think you probably need 275g of flour instead but as each flour varies, you will have to give it a go and if it becomes too dry you may need to add some extra wet ingredients.  I think the recipe I had was just a bit wrong, but still, use your instinct rather than relying on numbers!)

lepeshki-4

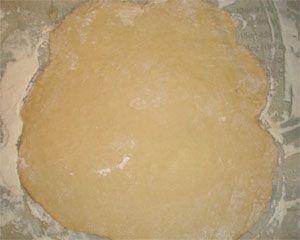
Roll out the dough on a lightly floured surface until about 8mm/ 1/3in thick

(It may be preferable to cool the dough in the fridge before rolling as it becomes warm very quickly and it may be good to roll out sections at a time and keep the remaining in the fridge until you are ready to cut more)

lepeshki-5

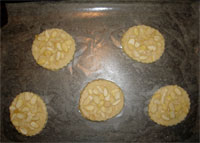
Cut the biscuits into rounds with a 7.5cm/3in cutter

Transfer the circles to a lightly oiled baking sheet on a baking tray

Separate the other egg

Brush the biscuits with the egg white

Sprinkle with flaked almonds

lepeshki-6

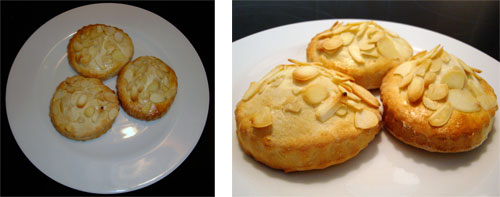
Bake for 8 to 10 minutes until light golden brown

Transfer to a wire rack to cool

Serve!
Serve!

Store in an airtight container (unless you are feeling particularly piggy and want to devour the lot!)

Related Images: